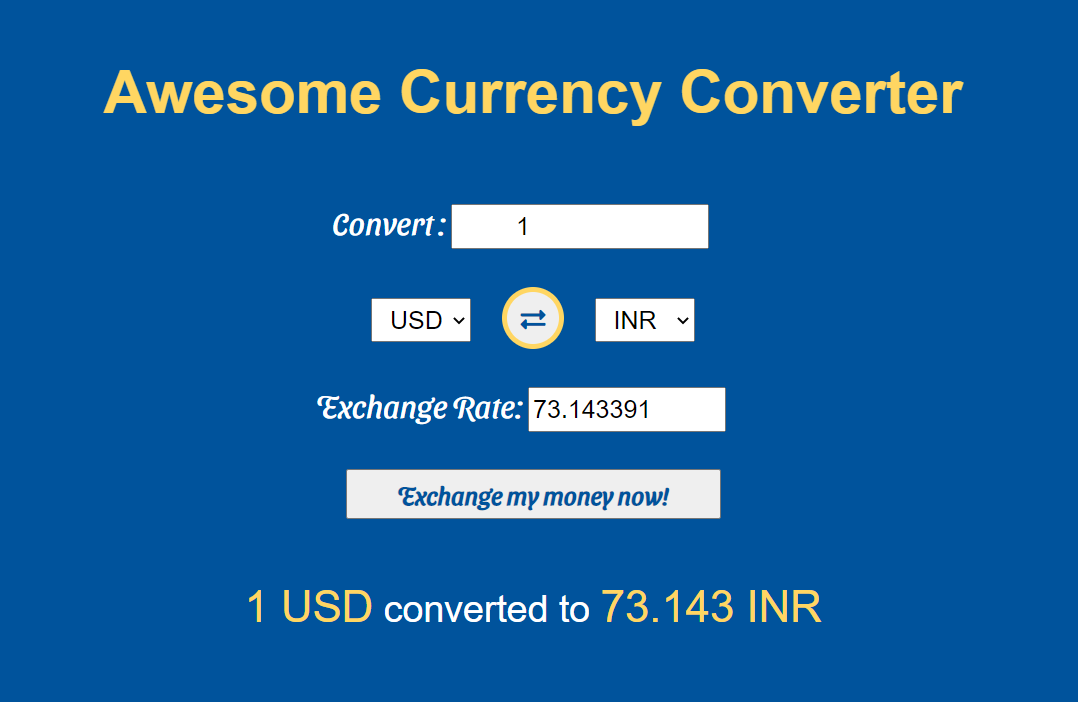
Weekly Web Dev Challenge: currency converter!

Recently I saw scrimba's weekly web dev challenge currency converter. Here I'll share my knowledge about this currency converter from the scratch.
Prerequisites
Basic understanding of
- HTML
- CSS
- JS
Content :
First, Let's have a look at the given code. Let's start with the make of the structure of the currency converter.
Now, Let's change the look and style of the currency converter to our own.
HTML and CSS:
First, we are going to add some CSS property for the <body> tag, this will place our currency converter in centre of the screen.
html, body {
    margin: 0;
    padding: 0;
}

body {
    text-align: center;
    font-family: sans-serif;
    background-color: #00539CFF;
    display: flex;
    height: 80vh;
    align-items: center;
    justify-content: center;
    flex-direction: column;
}
Add <h1> tag for the Heading of our currency converter also add some CSS for <h1> tag.
<h1>Awesome Currency Converter</h1>
h1{
    color: #FFD662FF;
    font-size: 3rem;
}
Add <p> tag for the label. Label name is Convert, then add <input> tag as a child of <p> tag.
<p class="convert">
    Convert :
    <input type="number" id="original-currency-amount"
        placeholder="0" value="1"> </input>
    </p>
Add css property for the class convert.
.convert{
    font-family: 'Sansita Swashed', cursive;
    font-size: 25px;
    color: #ffffff;
    padding-right: 20px;
}
Get currency
Now going to set from_currency and to_currency for the conversion. Here I used <select> tag to set the from_currency and to_currency.
<select id="from_currency">
    <option value="AED">AED</option>
    <option value="ARS">ARS</option>
    <option value="AUD">AUD</option>
    <option value="BGN">BGN</option>
    <option value="BRL">BRL</option>
    <option value="BSD">BSD</option>
    <option value="CAD">CAD</option>
    <option value="CHF">CHF</option>
    <option value="CLP">CLP</option>
    <option value="CNY">CNY</option>
    <option value="COP">COP</option>
    <option value="CZK">CZK</option>
    <option value="DKK">DKK</option>
    <option value="DOP">DOP</option>
    <option value="EGP">EGP</option>
    <option value="EUR">EUR</option>
    <option value="FJD">FJD</option>
    <option value="GBP">GBP</option>
    <option value="GTQ">GTQ</option>
    <option value="HKD">HKD</option>
    <option value="HRK">HRK</option>
    <option value="HUF">HUF</option>
    <option value="IDR">IDR</option>
    <option value="ILS">ILS</option>
    <option value="INR">INR</option>
    <option value="ISK">ISK</option>
    <option value="JPY">JPY</option>
    <option value="KRW">KRW</option>
    <option value="KZT">KZT</option>
    <option value="MXN">MXN</option>
    <option value="MYR">MYR</option>
    <option value="NOK">NOK</option>
    <option value="NZD">NZD</option>
    <option value="PAB">PAB</option>
    <option value="PEN">PEN</option>
    <option value="PHP">PHP</option>
    <option value="PKR">PKR</option>
    <option value="PLN">PLN</option>
    <option value="PYG">PYG</option>
    <option value="RON">RON</option>
    <option value="RUB">RUB</option>
    <option value="SAR">SAR</option>
    <option value="SEK">SEK</option>
    <option value="SGD">SGD</option>
    <option value="THB">THB</option>
    <option value="TRY">TRY</option>
    <option value="TWD">TWD</option>
    <option value="UAH">UAH</option>
    <option value="USD" selected>USD</option>
    <option value="UYU">UYU</option>
    <option value="VND">VND</option>
    <option value="ZAR">ZAR</option>
</select>
Here we add CSS property for <select> tag.
select{
    width: 80px;
    height: 35px;
    font-size: 20px;
    text-align: center;
    padding-left: 10px;
    outline: 0;
}
Add <button> tag to interchange the from_currency and to_currency
and add <i> tag for the double ended arrow <--> icon.
<button id="exchange">
    <i class="fas fa-exchange-alt"></i>
</button>
Add some CSS property to button id exchange.
#exchange{
    width: 50px;
    height: 50px;
    border-radius: 50%;
    margin: 0 20px;
    outline: 0;
    color: #00539CFF;
    border: 4px solid #FFD662FF;
}
Add active pseudo-class for the real button effect.
#exchange:active{
    transform: scale(0.9);
}
Again use the same <select> tag and code of from_currency for to_currency also!!
Now add <p> tag for the label Exchange Rate, and add <input> tag as a child of p tag to display the Exchange rate of the currency.
<p class="exchange">
    Exchange Rate:
    <input type="text" id="exchange-rate" ></input>
</p>
Add CSS property for p class exchange.
.exchange{
    font-family: 'Sansita Swashed', cursive;
    font-size: 25px;
    color: #ffffff;
    padding-right: 20px;
}
Now add <button> tag, this button converts the currency.
<button id="exchange_button">Exchange my money now!</button>
Final Tag, add <p> tag to display the converted amount. I added two <span> tag inside <p>, This span tag will help to highlight the amount.
<p id="output-text">
        <span id="from"></span> converted to <span id="to"></span>
</p>
CSS property for p id output-text.
#output-text{
    display: none;
    padding: 20px;
    font-size: 30px;
    color: #ffffff;
}
JavaScript
Finally, we are in the Awesome part of the currency converter, i.e., Javascript.
In Javascript first, we are going to define the variables to get the element from the HTML.
//input amount
var input_amount = document.getElementById("original-currency-amount");
//input currency
var from_currency = document.getElementById("from_currency");
//output currency
var to_currency = document.getElementById("to_currency");
//exchange rate
var exchange_rate = document.getElementById("exchange-rate");
var exchange = document.getElementById("exchange");
var output_amount = document.getElementById("output-text");
//to display the final output
var output_from = document.getElementById("from");
var output_to = document.getElementById("to");
Remember, we added one button to interchange the from_currency and to_currency, for that, call the addEventListener set the parameter as click, then create an anonymous function to swap the from_currency and to_currency and then call the main function calculate().
When you click the button it will automatically call the corresponding function.
exchange.addEventListener("click",()=>{
    [from_currency.value, to_currency.value] =
    [to_currency.value, from_currency.value];
    calculate();
})
In the above code, we have used from_currency.value because we defined the variable to get the element. But we need to swap the value of that element, So, we have used from_currency.value to get the values.
Create a function to convert the currency. This is the main part of the conversion.
Here we use an API to get the exchange rate of each currency.
function calculate(){
    const from_currency_value = from_currency.value;
    const to_currency_value = to_currency.value;

    //api call to get exchange rate of each currency
    fetch(`https://api.exchangerate-api.com/v4/latest/${from_currency_value}`)
    .then(res => res.json())
    .then(res => {
        const rate = res.rates[to_currency_value];
        exchange_rate.value = `${rate}`
        to_amount = (input_amount.value * rate).toFixed(3);

        //it will display the output to screen
        output_from.innerText= `${input_amount.value} ${from_currency_value}`;
        output_to.innerText = `${to_amount} ${to_currency_value}`;
        output_amount.style.display="block";
    })
}
Congratulations You did it 🥳🥳.
If you need more clarity code check below pen👇🏻.
codepen
Thank you for reading !!
Get in Touch


